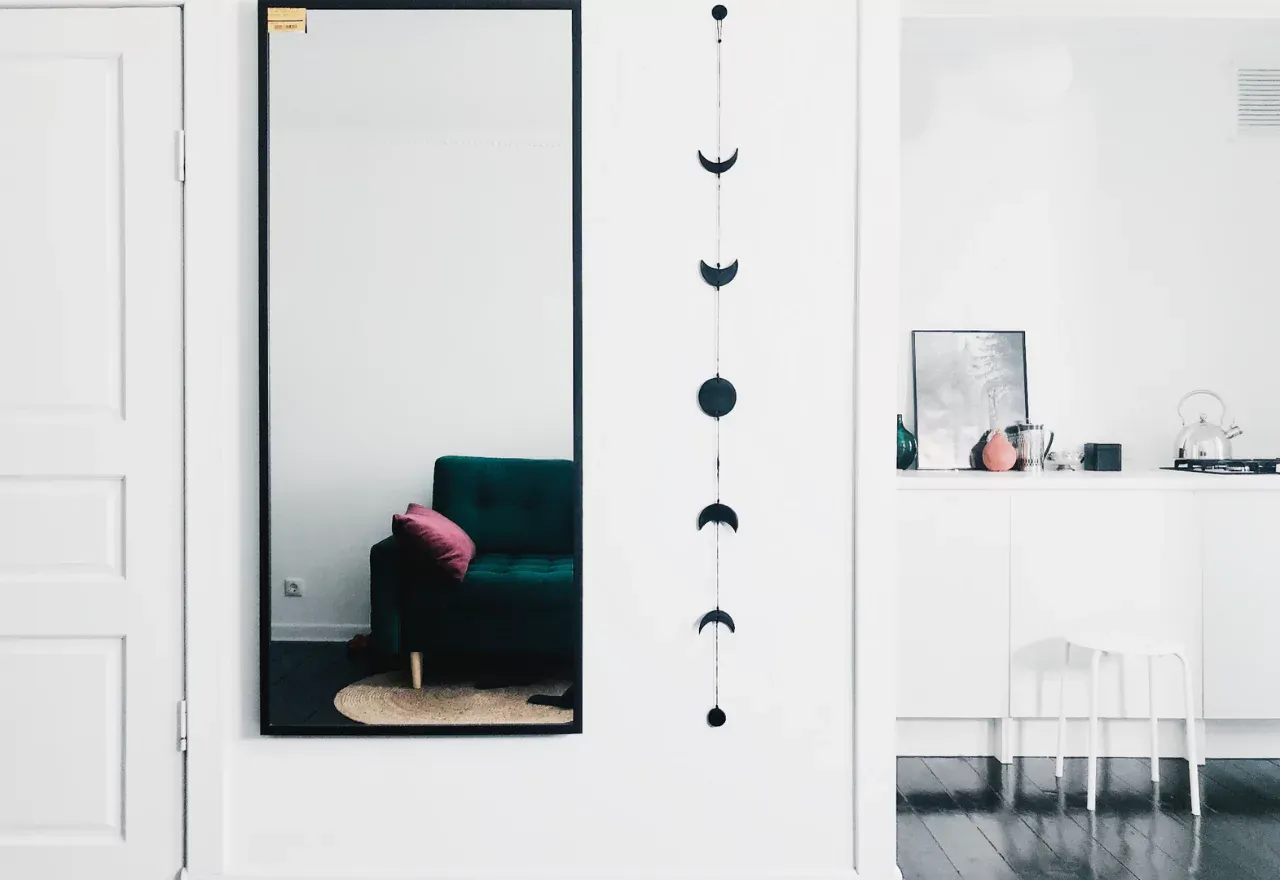
Today I'm going to create a moon wall hanging I wanted for so long. And I'll show you how! Whether you’re a fan of everything esoteric and celestial or just like to decorate your home with unusual decor, this super simple moon wall hanging will breathe a new life into any space.
And it's super easy to make it — just grab some air-dry clay and a cookie cutter and you’ll be done with this DIY project in no time.
Materials you'll need
- air-dry clay
- rolling pin
- round cookie cutter (mine is about 8 cm in diameter)
- skewer
- black acrylic paint
- small paintbrush
- black jute yarn

DIY moon wall hanging instructions
Step 1
Roll out clay till it’s about 0.5 cm thick. Cut 5 circles with your cookie cutter. Leave one shape as is (for a full moon).
For the two other shapes, use your cookie cutter to cut into the circle about 1/3 of the circle. To do that, lay this new shape on top of another full circle, and use the cookie cutter to cut the circle below it, so the pieces are identical.
Repeat for the two crescent moon shapes, but this time use your cookie cutter to cut ¾ of the circle.
Use the cookie cutter and a smaller cookie cutter (or use any other small circle item) to make a small circle to hang it at the bottom later.
Step 2
Use a skewer to make a hole through the center of the top and bottom of each moon shape, just a few millimeters from the edge. Poke only one hole in the top of the smallest circle. Lay your shapes flat and let dry according to the clay package instruction (typically 24h).
Step 3
Once hardened, paint each moon shape piece using your paintbrush and paint. Let them dry.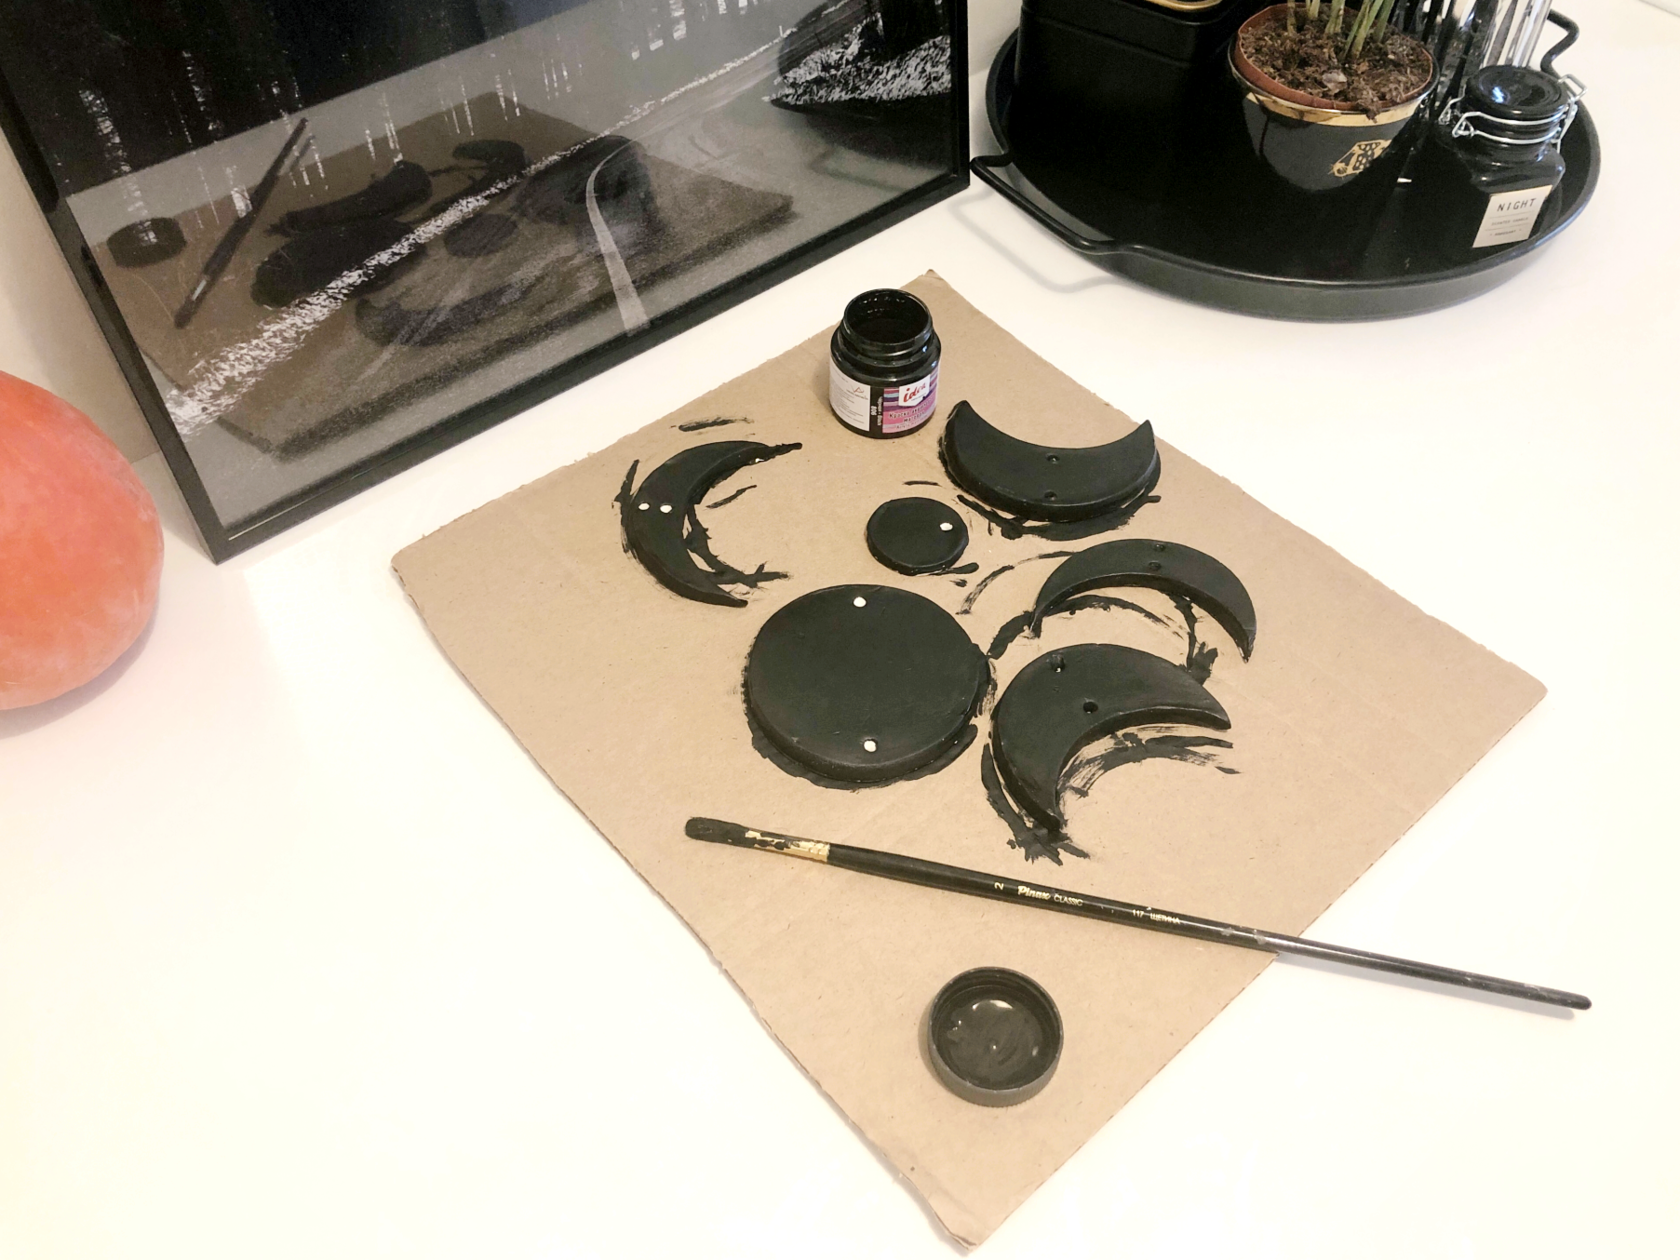
Step 4
Cut your jute yarn (length will depend on how long you want your hanging to be). Form the knot you'll hang the decor onto. Slip the top crescent moon shape (points up) onto the yarn piece, threading it through the top front. Adjust the moon shape to the desired place and secure by tying a knot.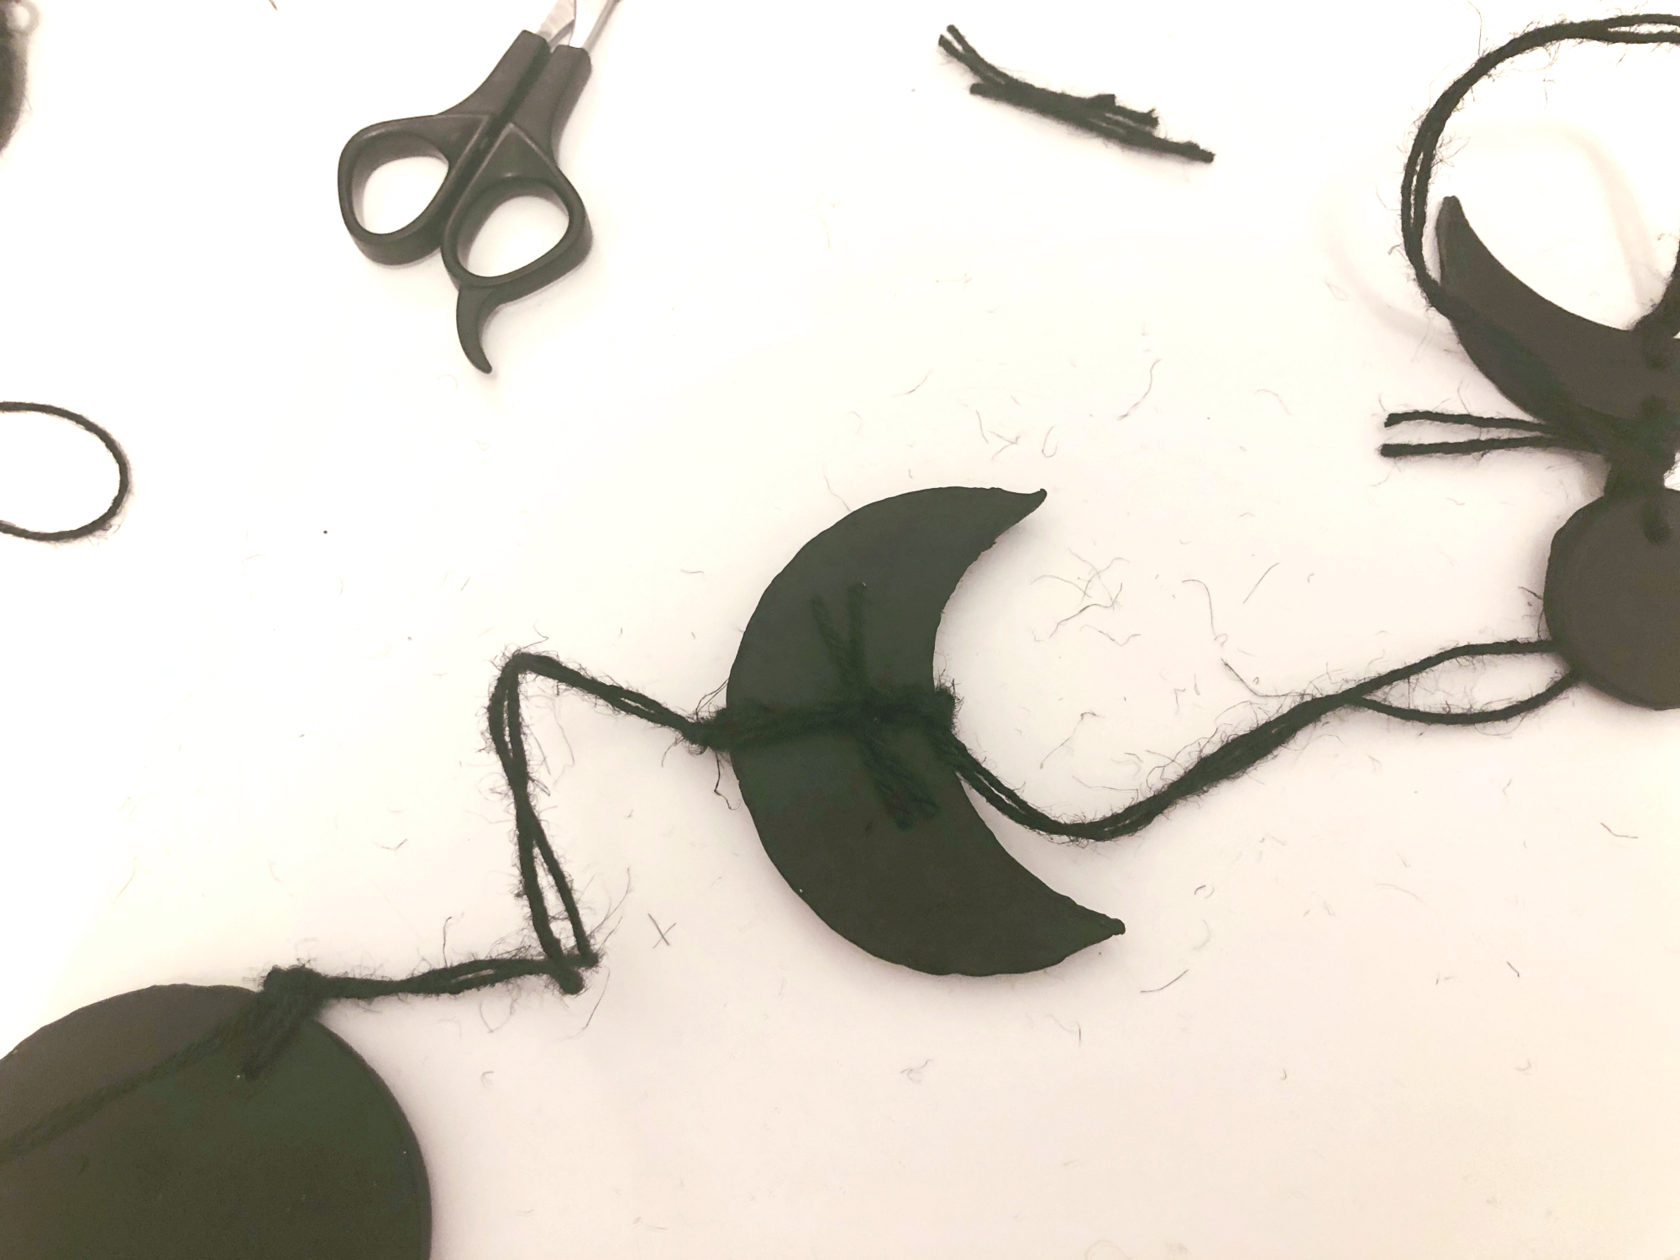
Thread each shape onto its place, then thread the final small circle piece onto your hanging front to back, tie a knot and trim (if necessary).
Step 5
And you're done! Put a DIY moon wall hanging onto the wall hook or nail.
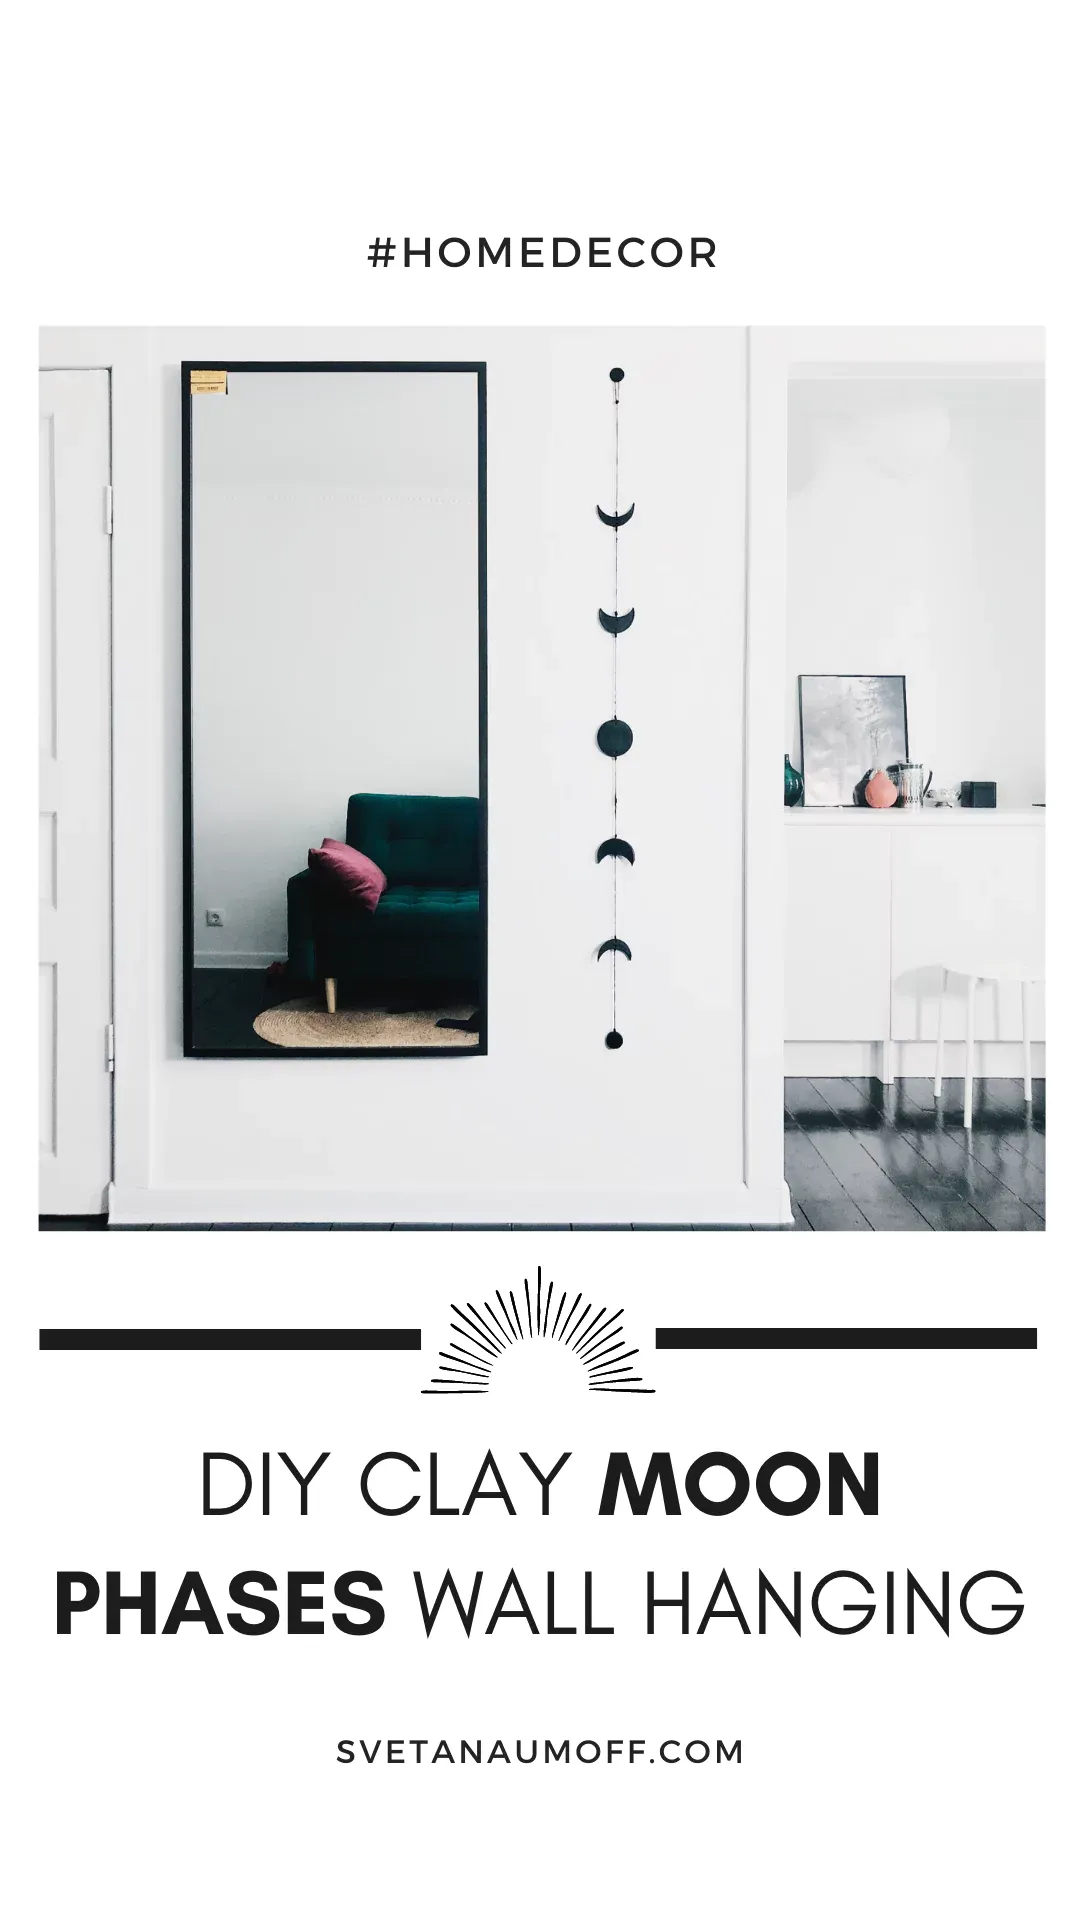
Pin for later:
Post a Comment
Leave your comment here